How to Fix a Leaky Tap...

How to fix a leaky tap...

by Staff Writer 29-05-2019 | 4:24 PM
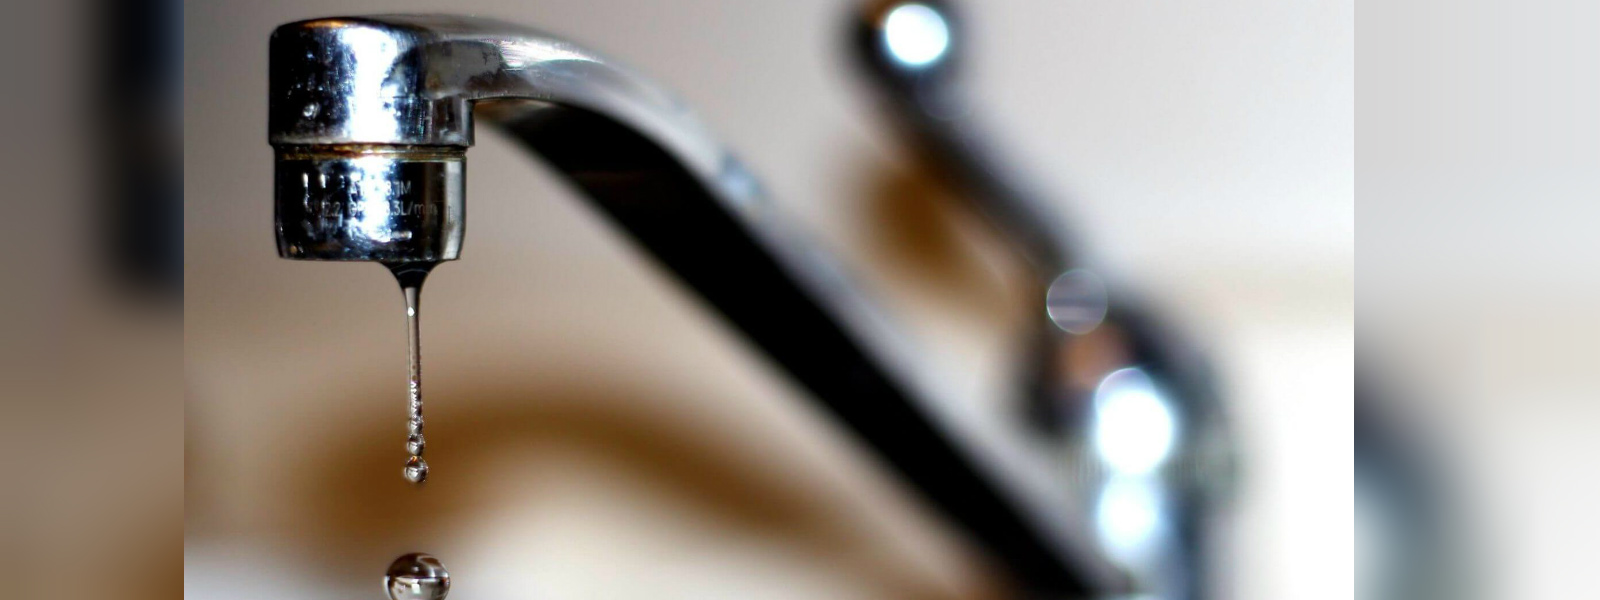
Whether it’s the annoyance of a persistent drip or water pooling around your tap handles, the cause is a leaky tap. Here are a few easy steps to fix it. 1) Assemble the necessary tools. For this task, you will need:
  • Pliers, adjustable wrench, or Allen wrenches
  • Screwdriver
  • Calcium remover
  • Needle nose pliers
  • Utility knife
  • Tap replacement parts
2)   Shut off the water. Go underneath the sink and turn off the water valves (typically, turning the knobs to the right will close the valves). Then try turning the tap handles. If the flow stops, you’ve properly turned the water off and can start inspecting. 3)   Inspect the handles and cartridges. Many tap leaks are handle-related. Pop off the cap over the handles and/or unscrew them from the tap. Within the handle there are many parts including seals, washers, o-ring, and the stem. Inspect them for cracking and general wear and tear. Each of these individual parts can be replaced without buying brand new handles. To replace the cartridge, remove the old one with a pair of pliers. There may be a screw or nut holding it in place. Push in the new cartridge and tighten it back into place. Pro Tip: bring the old parts to the hardware store to ensure proper sizes. If you have an older tap, local hardware stores will be your best bet; they tend to carry older style models in-store or can place special orders for replacement parts. 4)   Clean with Calcium Remover. Before you fully reassemble the tap, clean any scaly parts with calcium remover or a plumbing-safe solvent. This will prevent further damage to the tap parts. Safety tip: be sure to wear gloves when using any chemical cleaners. 5)   Reattach Tap Parts. Make sure each piece from the handle is assembled correctly and tightly and then turn the water back on to see if there is still a leak. Be sure to test both the hot and cold water separately. If you are still experiencing leaking or dripping, it’s time to call in a professional. * This article originally appeared on 

www.homeserveusa.com