


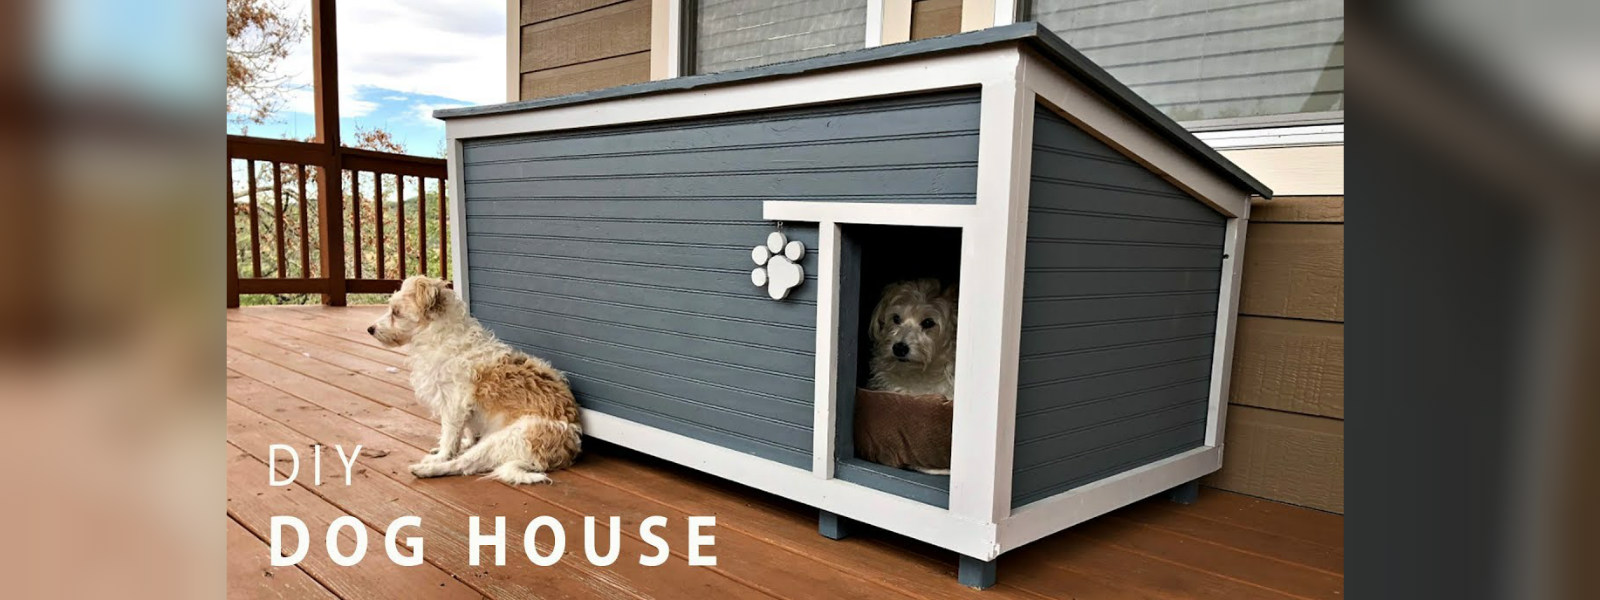
How to Build a Dog House...


.png )
 As a valued member of the family, your dog deserves a safe, warm, and dry home. Inside your house, dog beds, blankets, the floor itself, pillows, and sofas may serve as places of rest and relaxation. But dogs love to be outside, too.
When outside, your dog needs its own little home to escape from the elements. Building a dog house is a fun project that invites participation from everyone. It's especially valuable at teaching children basic building skills.
Using inexpensive materials and tools obtainable from your nearest home center, you and anyone else who is willing to pitch in can easily make a dog house for your furry friend in just a day or two.
As a valued member of the family, your dog deserves a safe, warm, and dry home. Inside your house, dog beds, blankets, the floor itself, pillows, and sofas may serve as places of rest and relaxation. But dogs love to be outside, too.
When outside, your dog needs its own little home to escape from the elements. Building a dog house is a fun project that invites participation from everyone. It's especially valuable at teaching children basic building skills.
Using inexpensive materials and tools obtainable from your nearest home center, you and anyone else who is willing to pitch in can easily make a dog house for your furry friend in just a day or two.
Tools and Supplies You Will Need
- (7) 1/2-inch exterior grade plywood sheets, each 4 feet by 4 feet
- (6) two-by-fours, each 8 feet long
- Circular saw
- Jigsaw
- Carpenter's pencil
- Carpenter's square or a Speed Square
- Straight edge
- Hammer
- 1 1/2-inch long nails
- Roofing nails
- Roofing materials: either three-tab composite shingles or rolled roofing
- Exterior latex paint
- Caulk and caulking gun
- Primer
- Paintbrush
- Eye and hearing protection
Instructions
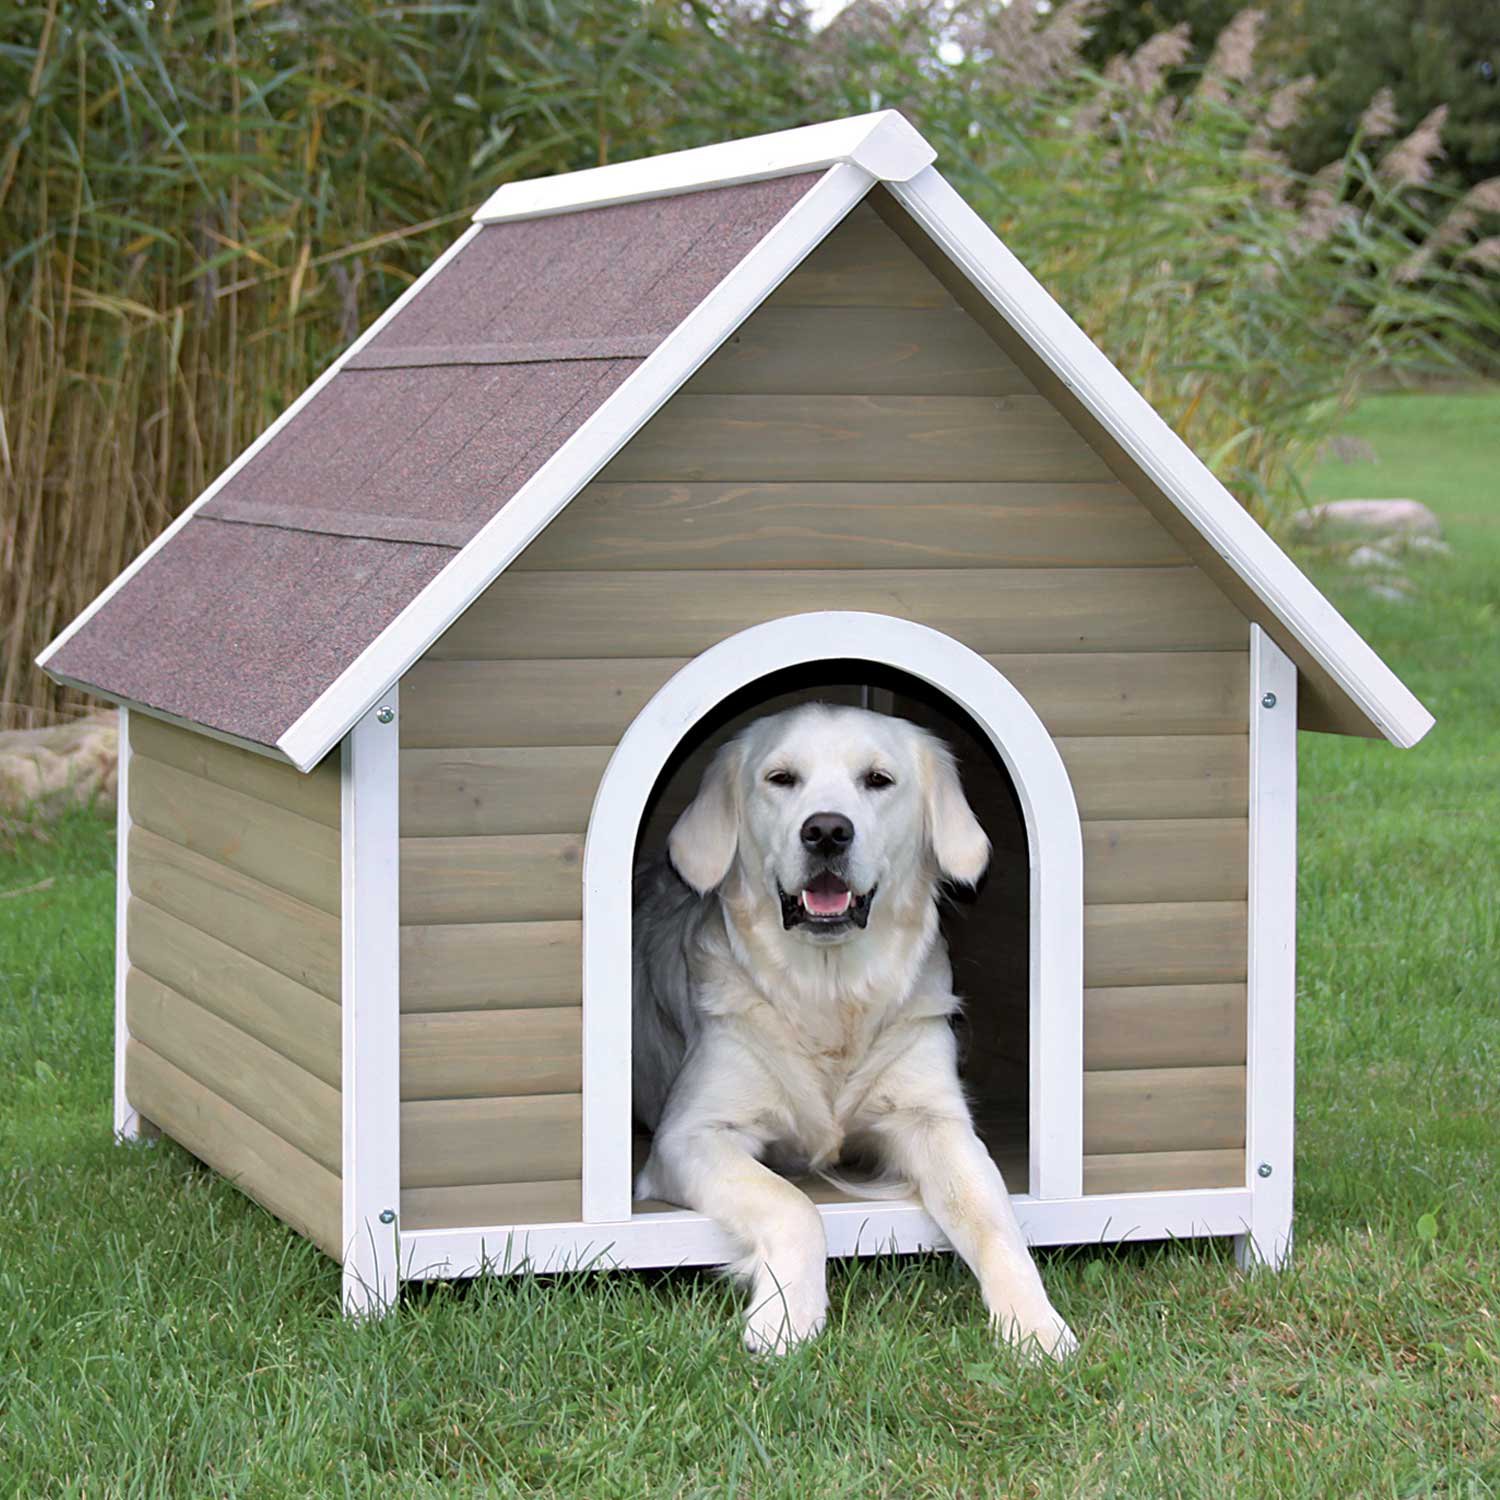
With its pitched roof, shingles, and symmetrical front and rear panels, this dog house emulates a classic Colonial-style home. Most home improvement centers sell plywood in convenient 4-foot by 4-foot sizes, perfect for even the largest dog house you might want to build. You will begin by marking and cutting the front and rear panels, since they will define the overall size and shape of the dog house. The two side panels, the floor panel, and the roof will correspond to the front and rear panel sizes that you first establish.Size Your Dog
Dogs come in all sizes, and their houses should, too. First, obtain a rough sense of your dog's height and length. Height is measured from the floor to the top of the head, while the dog is standing. Length is measured from the tips of your dog's front paws to the back, including the tail, when the dog is lying prone and straight, not curled up or on its side. Medium-size dogs like boxers and collies tend to measure 20 inches to 30 inches high and 25 inches to 35 inches long. Extra-large dogs like Great Danes, Saint Bernards, and Newfoundlands typically measure 38 inches high and 40 inches long.Cut the Door in the Front Panel
For a rectangular shape, where the dog house is taller than it is wide, cut off a 1-foot strip from two of the panels so that a 3-foot by 4-foot section remains from each. Now, situate one of the panels so that a short side is facing you. For the height measurement, most dogs will learn to duck their heads to get through the door. If you make the door too low, the dog may be reluctant to enter. Yet if you make the door too high, you risk running out of board space to cut the peak. Twenty-four inches high is an average height for the door, but adjust this as needed. Next, draw two parallel vertical lines that define the door's width. Twenty inches is an average door width, but again, adjust for your own dog. Cut the door out with the jigsaw.Cut the Peak in the Front Panel
In the front panel, mark the triangular peak that will form the roof. Begin by making a mark mid-point (18 inches) at the top of the panel. This is the top of the peak. Rest the straight edge on the board, with one end on that midpoint mark and the other end 20 inches down the side of the board. If you wish, you can move that second measurement higher, as far as another 8 inches, for a flatter roof. But do not move it downward at all, because you will run into the door opening. Repeat your mark on the other side to form an inverted V-shape. Cut with the circular saw.Cut the Rear Panel
Use another sheet of plywood to create the rear panel. Lay the front panel on top as a template and draw all of the shapes except for the door. Remove the template and cut the rear panel with the circular saw.Cut the Side Panels
Take two more new plywood sheets to create the two side panels. Cut each one at 20 inches in order to produce sheets that are 20 inches by 48 inches. The 48-inch side represents the length of the dog house. Based on your dog, cut the length where you wish. However, a standard length that works for most dogs is 40 inches.Create Nailing Surfaces on the Front and Rear Panels
Because you cannot nail or screw into the side of plywood, you need to create nailing surfaces that follow the perimeter of both the front and rear panels. Cut four two-by-fours at 20 inches long each. Place these flat on the sides of panels and nail into place from the other side. The roof peaks also need nailing surfaces. For this, cut four boards at 15 inches each, then nail them along the roof line on the same side as the other nailing surfaces. Finally, the floor area will need nailing surfaces. Cut two two-by-fours at 29 inches each, then nail them along the bottoms of the front and rear panels.Create Nailing Surfaces on the Side Panels
The two side panels need nailing surfaces on the tops and bottoms. For a dog house that is 40 inches long, cut four two-by-fours each at 36 inches long. Nail two per side panel, each running horizontal along the top edges and the bottom edges. Be careful to center each board, as they will work in conjunction with the nailing surfaces that you earlier created on the front and rear panels.Nail Front, Rear, and Side Panels Together
Place the front and rear panels together with the two side panels to form a rectangle. Note that there is still no roof at this point. Nail all together with the 1 1/2-inch nails.Cut and Join the Floor
Set the dog house on top of another plywood sheet. Make sure that the dog house is squared up. Mark the footprint of the dog house on the sheet, then cut with the circular saw. Nail the product to the bottom of the dog house to form the floor.Measure, Mark, and Cut the Roof Panels
Lay one of the plywood sheets on top of the dog house, along one side of the roof line. Try different configurations to find an overhang that seems suitable, then mark the board to that size and cut with the circular saw. Duplicate the measurements on a second plywood board. Nail the boards to the top of the dog house.Caulk the Dog House
While reasonably efficient at protecting your dog from the elements, the dog house will have some narrow gaps. Fill those gaps with caulk. Be especially careful to caulk the roof ridge line.Add Shingles to the Dog House
For a homey and classic look, nail three-tab composite shingles at the top of the dog house. To save on costs, use rolled roofing instead of composite shingles.Paint the Dog House
Paint the dog house any color you desire. Because exterior-grade plywood is especially porous, it is necessary to prime before painting. Because the area is small enough, you only need to use paint brushes. There is no need to use a roller or paint sprayer, though you can if you wish. * This article originally appeared on www.thespruce.comOther Articles
-798327_550x300.jpg)


Featured News


-797273_550x300.jpg)

News 1st, MTV Channel (Pvt) Ltd, MBC Networks (Pvt) Ltd, 45/3, Braybrooke Street, Colombo-02.
T.P : +94 114 792 700,
Fax : +94 114 792 733
T.P : +94 114 792 700,
Fax : +94 114 792 733


 |  |  |
|---|---|---|
 |  |  |
 |  |  |
 |

.gif)